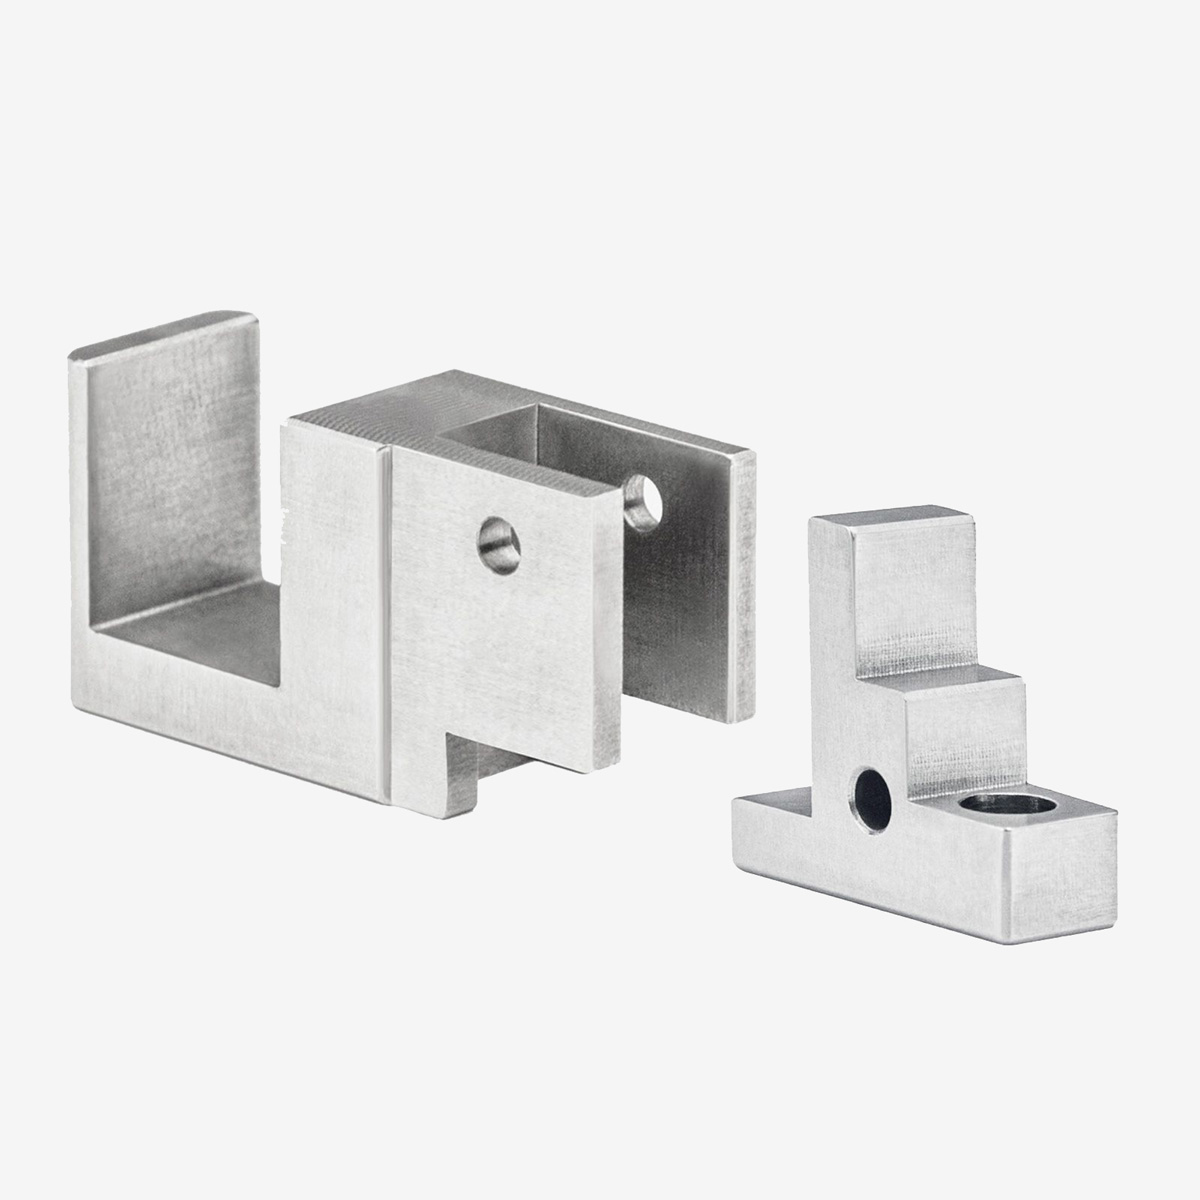
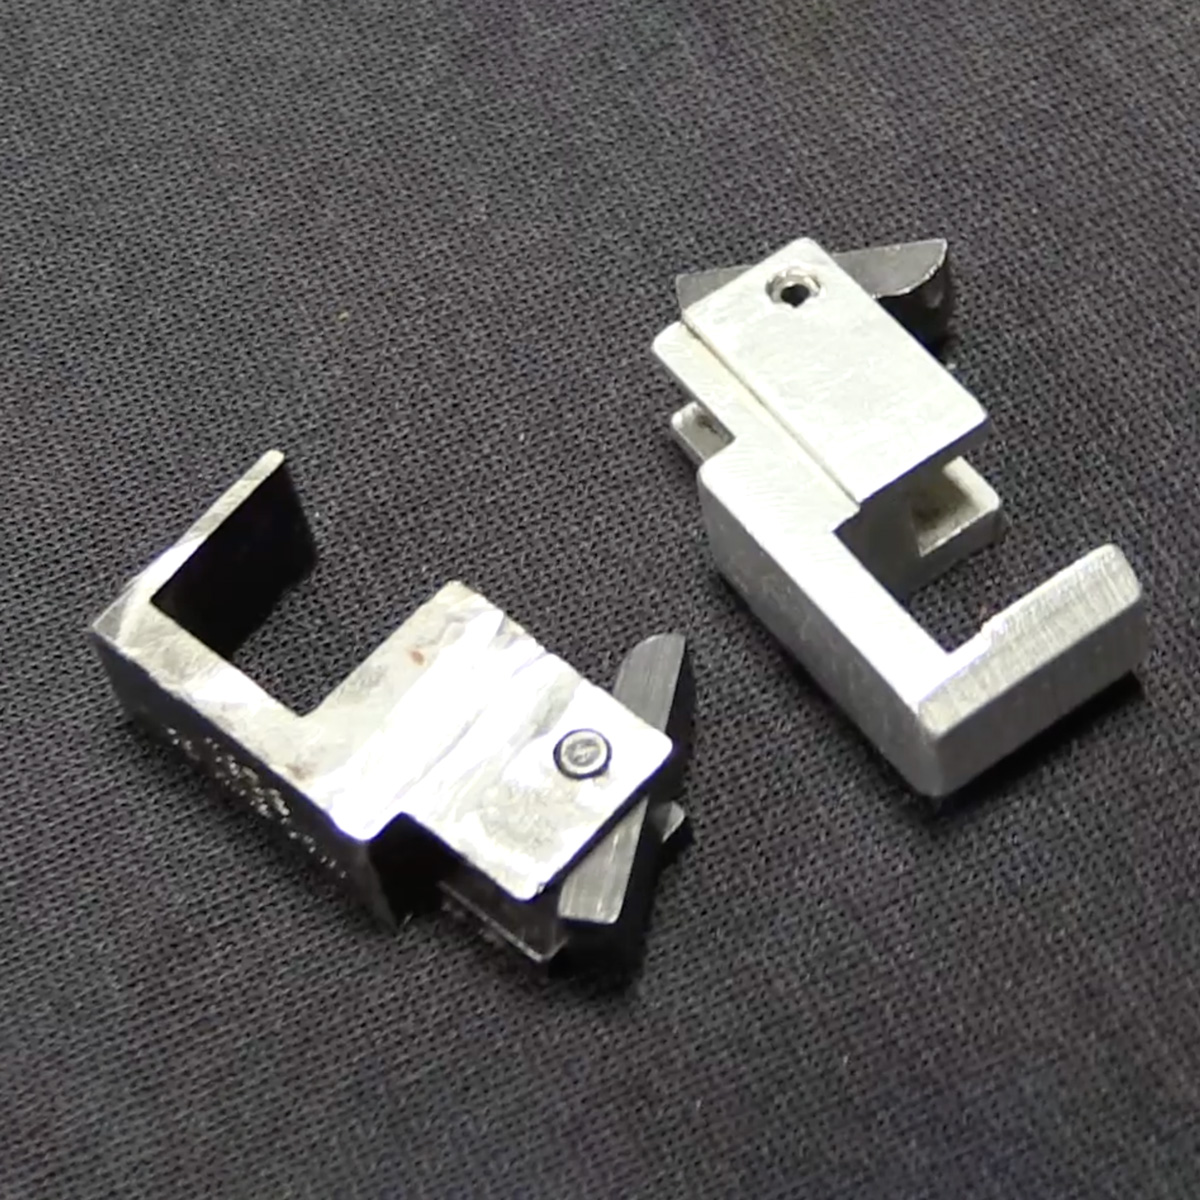
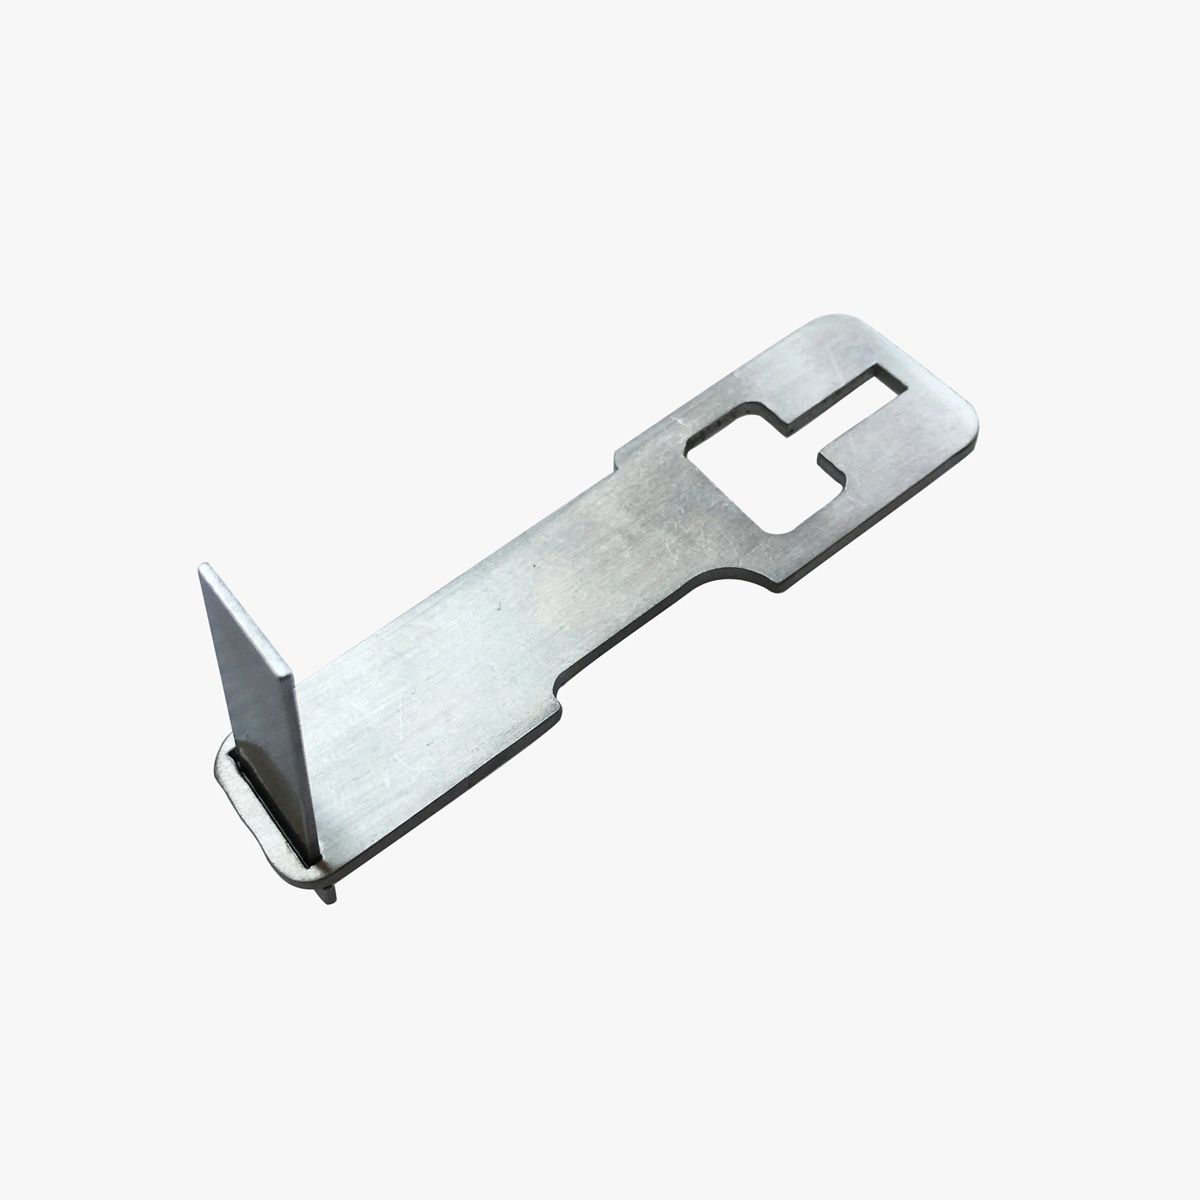
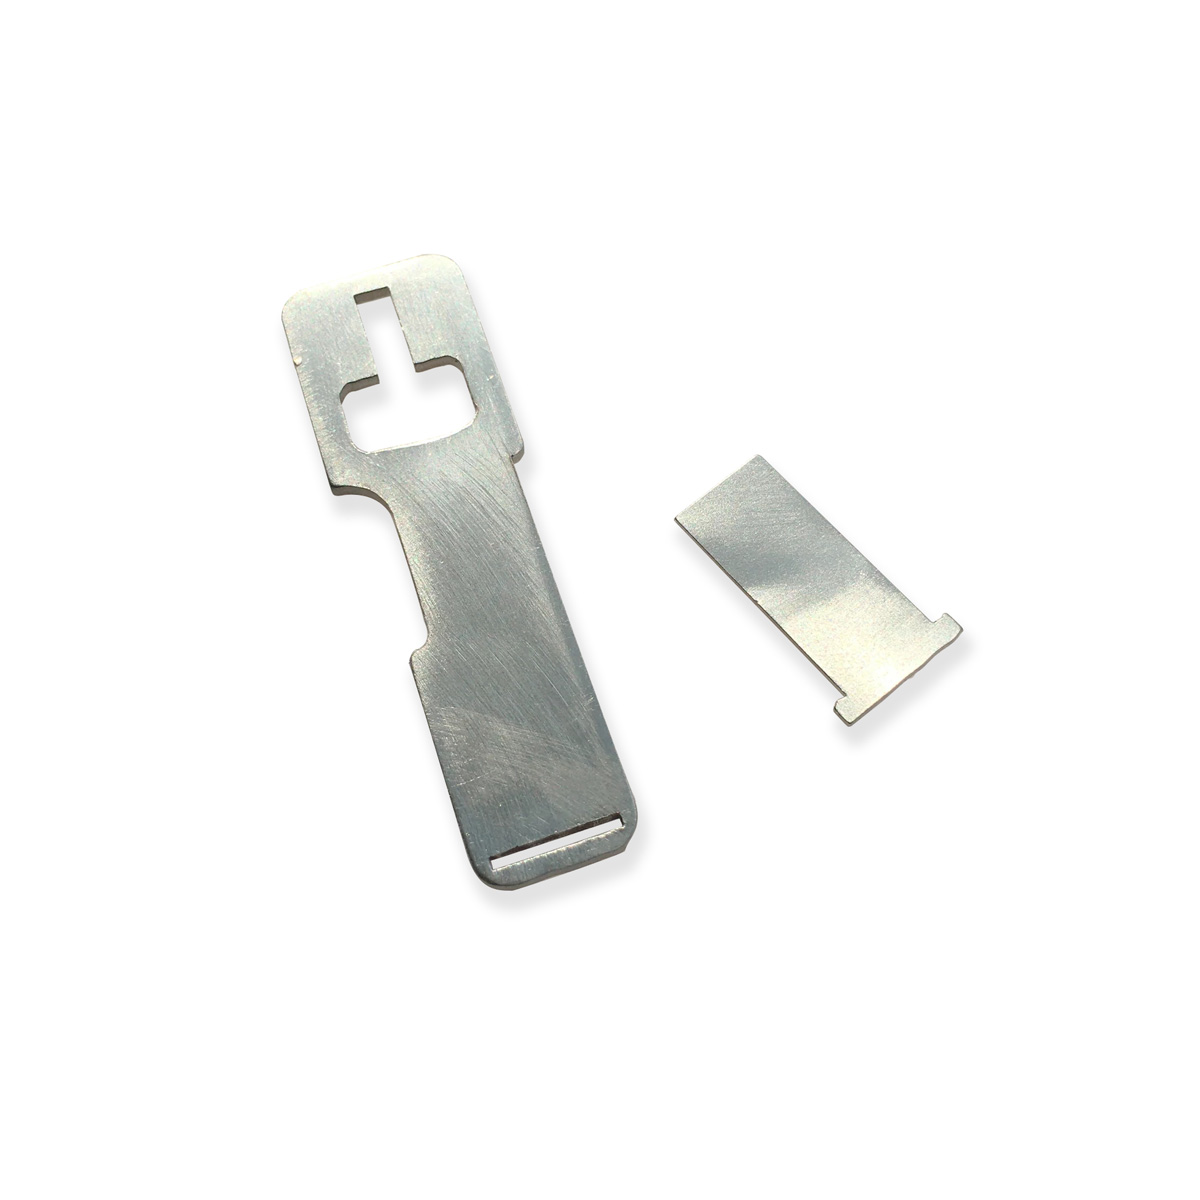
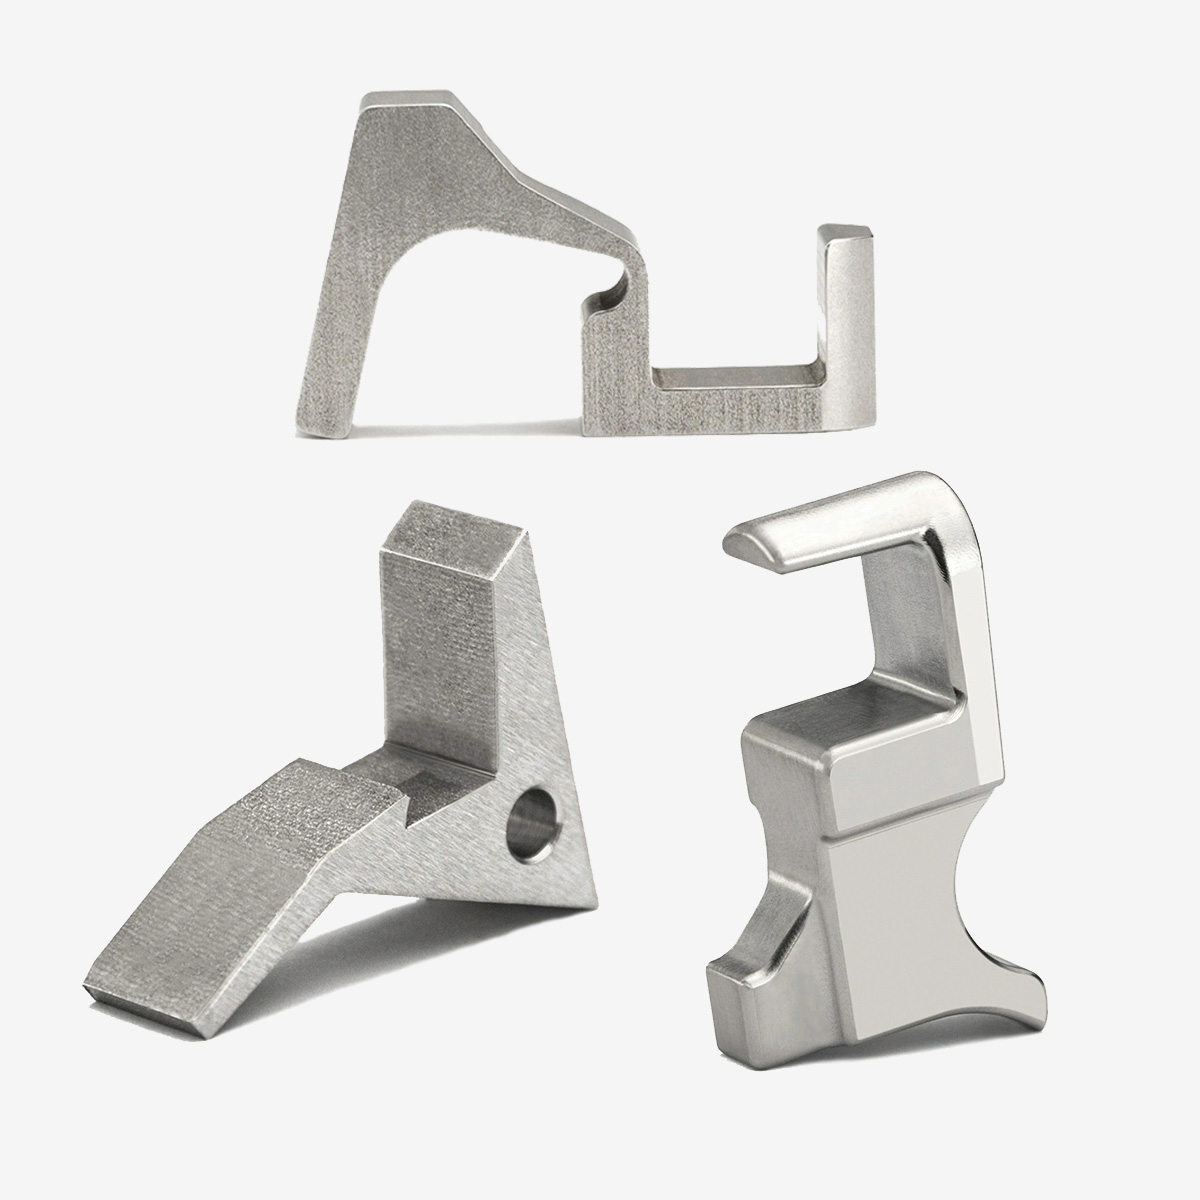
Gen1-4 Full Auto Selector Switch Stainless Steel for Glock G17 G19 G22 G23 G26

$119.99

SKU: VWGSFASS4 Category: Tag:

Description

Enhance Your Tactical Gear with our Full Auto Selector Switch for Glock Gen1-4!

Crafted from premium stainless steel, this drop-in ready switch offers maximum efficiency and convenience. Easily toggle between full-auto and semi-auto modes, customizing your shooting experience to suit your needs.

Designed specifically for G17, G19, G22, G23, and G26 models, this switch is compatible with sear and slide modifications. (If you want to use it in gen 5 or 43, 43x, 48, etc., you need to modify the sear part by yourself, and polish it within 0.3mm.) No special tools or skills required for installation, making it hassle-free to use.

Do know your Glock Generation? Click here to identify your Glock generation.

vitowhisper glock switch selector semi auto to full auto

Note: For training or teaching purposes only. Please make informed purchase decisions, as unreasonable returns are not accepted. We assume no responsibility for after-sales issues. Order carefully!

Specifications

Material: Stainless Steel
Size(LxWxH): 18.6x15x14.2mm/ 0.7×0.6×0.5in

Product Includes

  • 1x Selector Rod
  • 1x Disconnector
  • 1x Conversion Back Plate

How to Install Switch on a Glock ? (ATF Approval Only)

vitowhisper glock full auto switch easy assembled

Below are the directions for those that have the proper paperwork, approval and federal firearms license to utilize a Glock switch:

  1. Pull back the slide on your Glock and get it to the locked open position.
  2. Place a small screwdriver beetween the metal firing pin notch and the plastic firing pin jacket.
  3. Use the screwdriver to lever the plastic firing pin jacket away from the metal firing pin notch.
  4. While holding back the firing pin jacket, remove the end cap or back plate by liting and prying away from the back of the Glock.
  5. You should now see the tiny spring loaded extractor plunger.
  6. Take the assembled Glock switch and using the screwdriver again pry the plastic firing pin jacket away from the metal firing pin notch.
  7. Insert the aGlock switch where the previous end cap was installed.
  8. Use the screwdriver to push the spring loaded extractor plunger to allow the full auto sear to snap into Place.
  9. You now will need to “rack” the slide back and forthe 15 – 20 times to ensure there is a channel for the disconnector in the frame of the Glock.
  10. Set the selector switch to desired rate semi or full auto.
  11. Test fire your full auto Glock.

Additional information

Color

Black, Sliver

Customer Reviews

Based on 19 reviews
84%
(16)
5%
(1)
5%
(1)
0%
(0)
5%
(1)
J
J.g.
Anybody have any good reviews on it?

Text me if any good reviews please! Looking to order asap [****]. Customer or anybody with experience

J
Joe Serafinski
Unbelievable

IT's the REAL DEAL! Put in a second order!

S
Spud Brooks

Nice

B
Benjamin Posey
Customer Service

Excellent customer service.

M
Mark Montgomery
Amazing Products And Reliable Customer Service

This company is the real deal they get you what you want and make sure there customers are taken care of. I will be back.